Cart
0
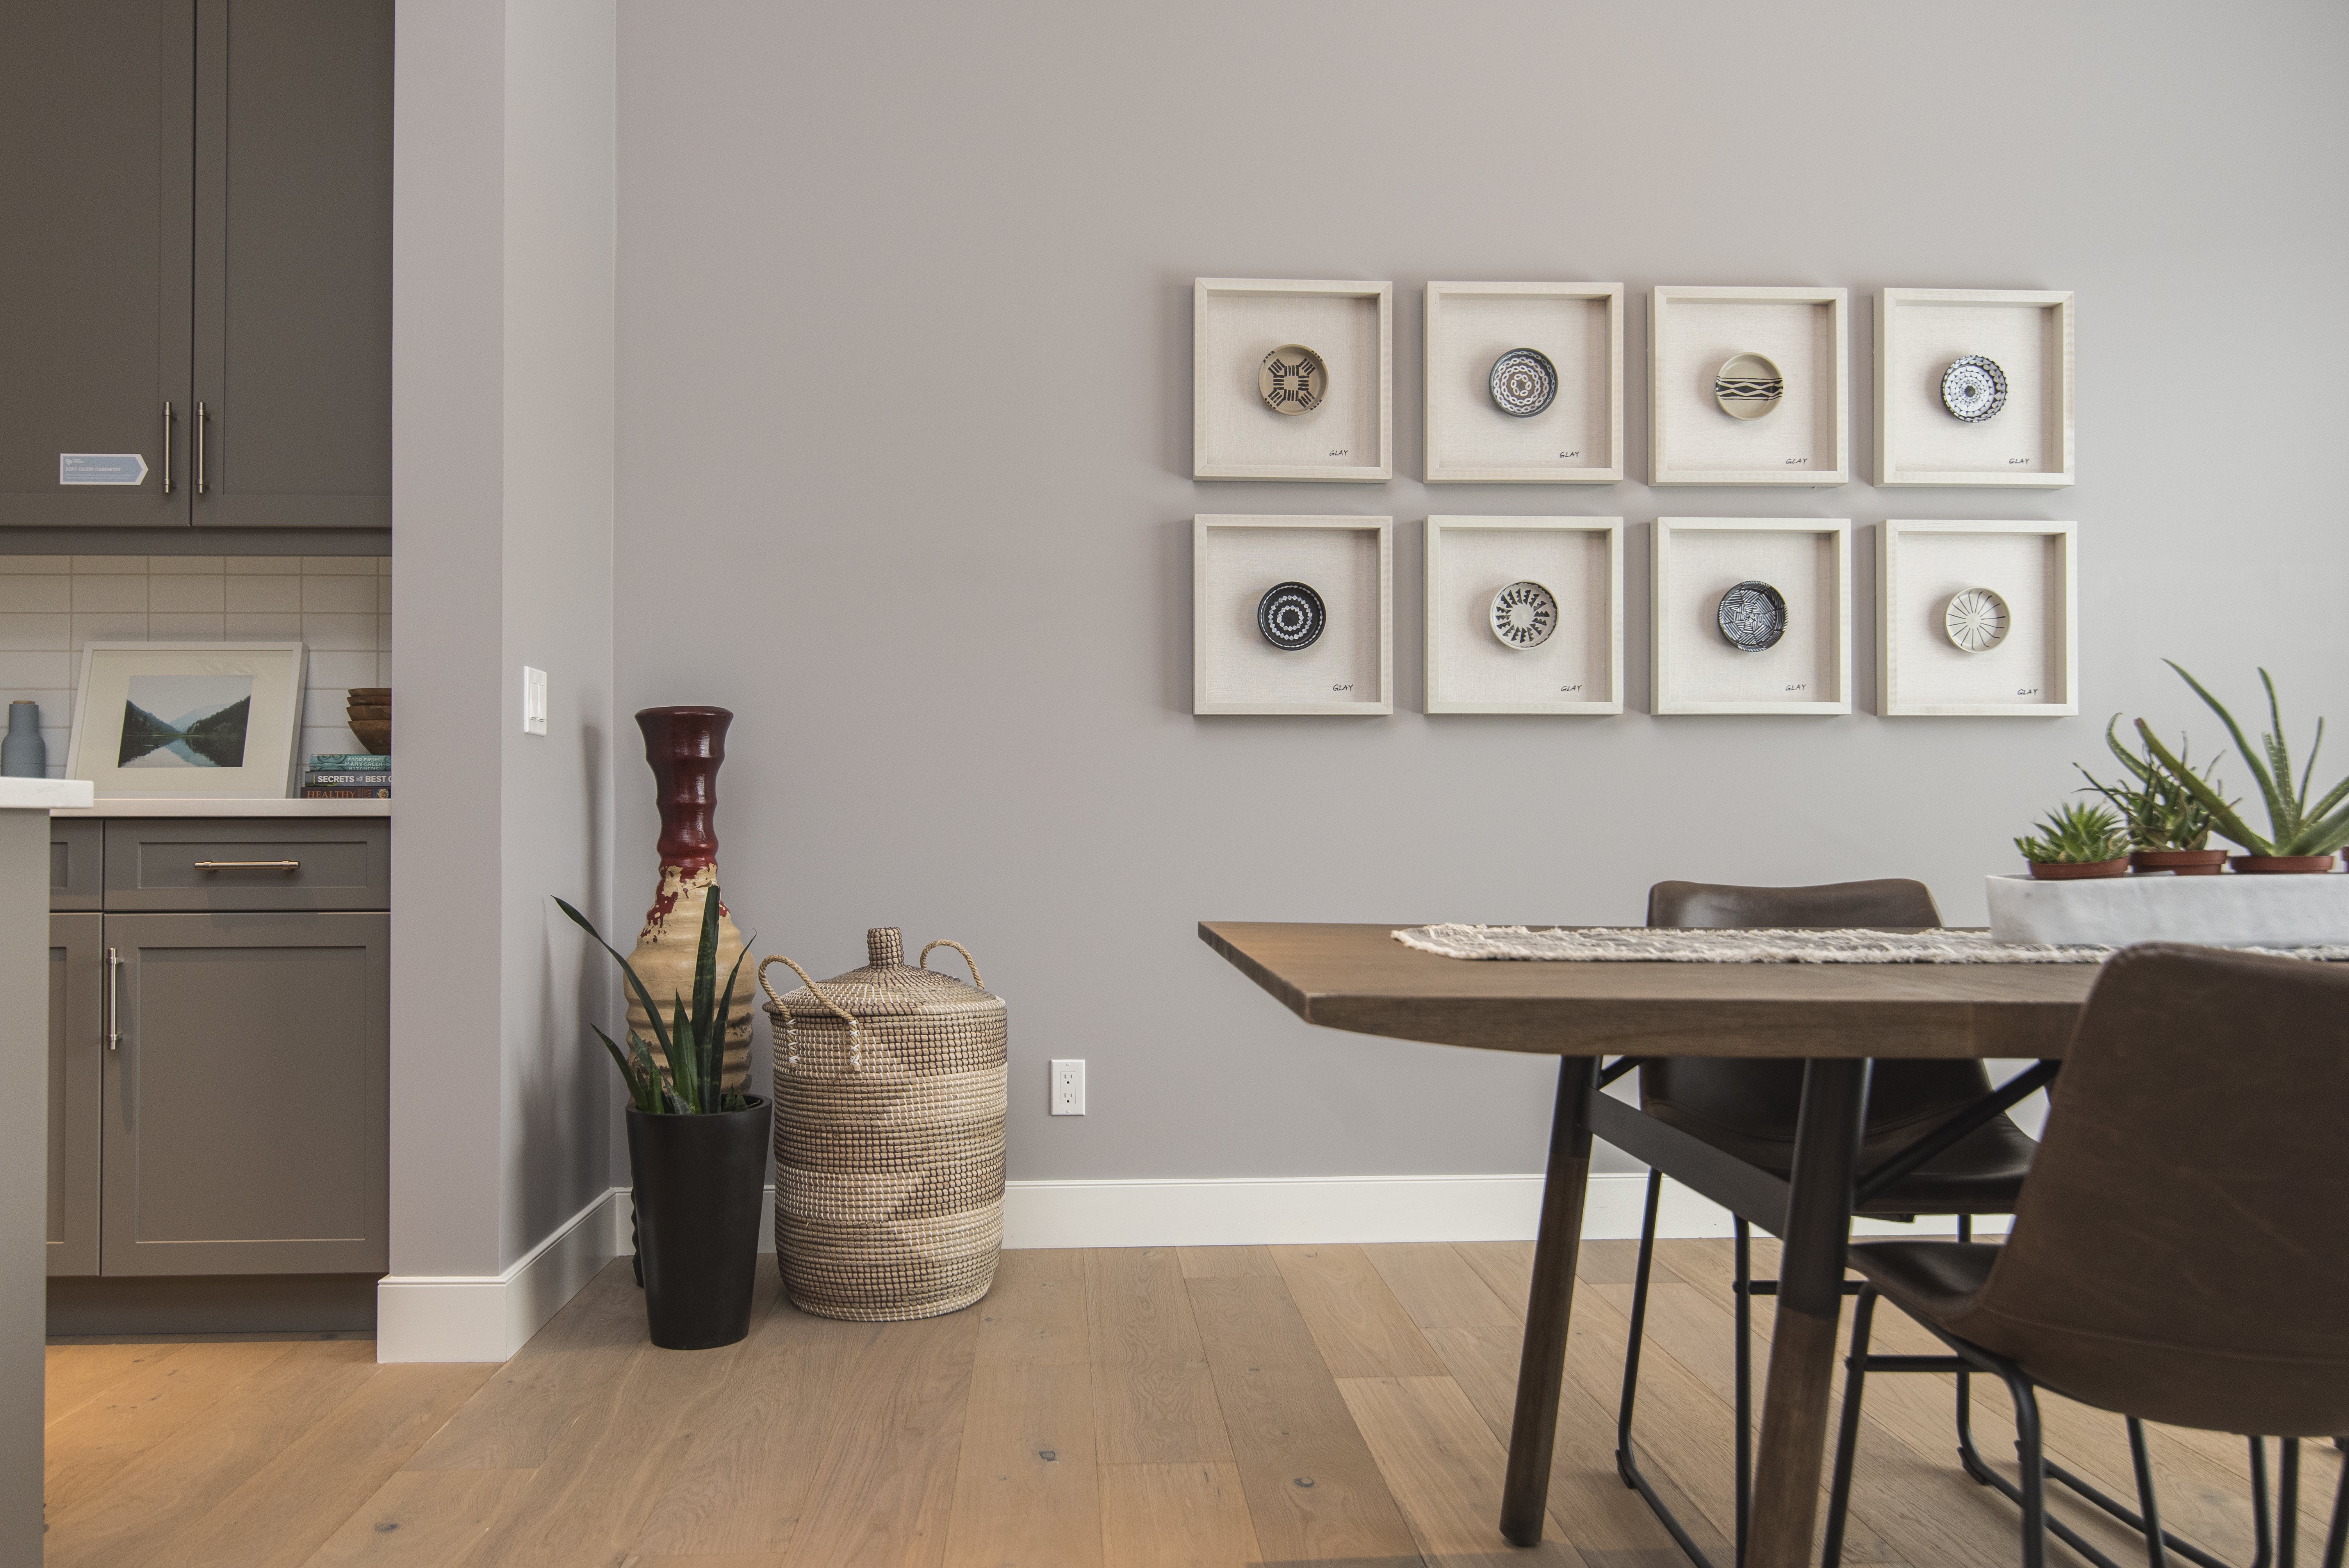
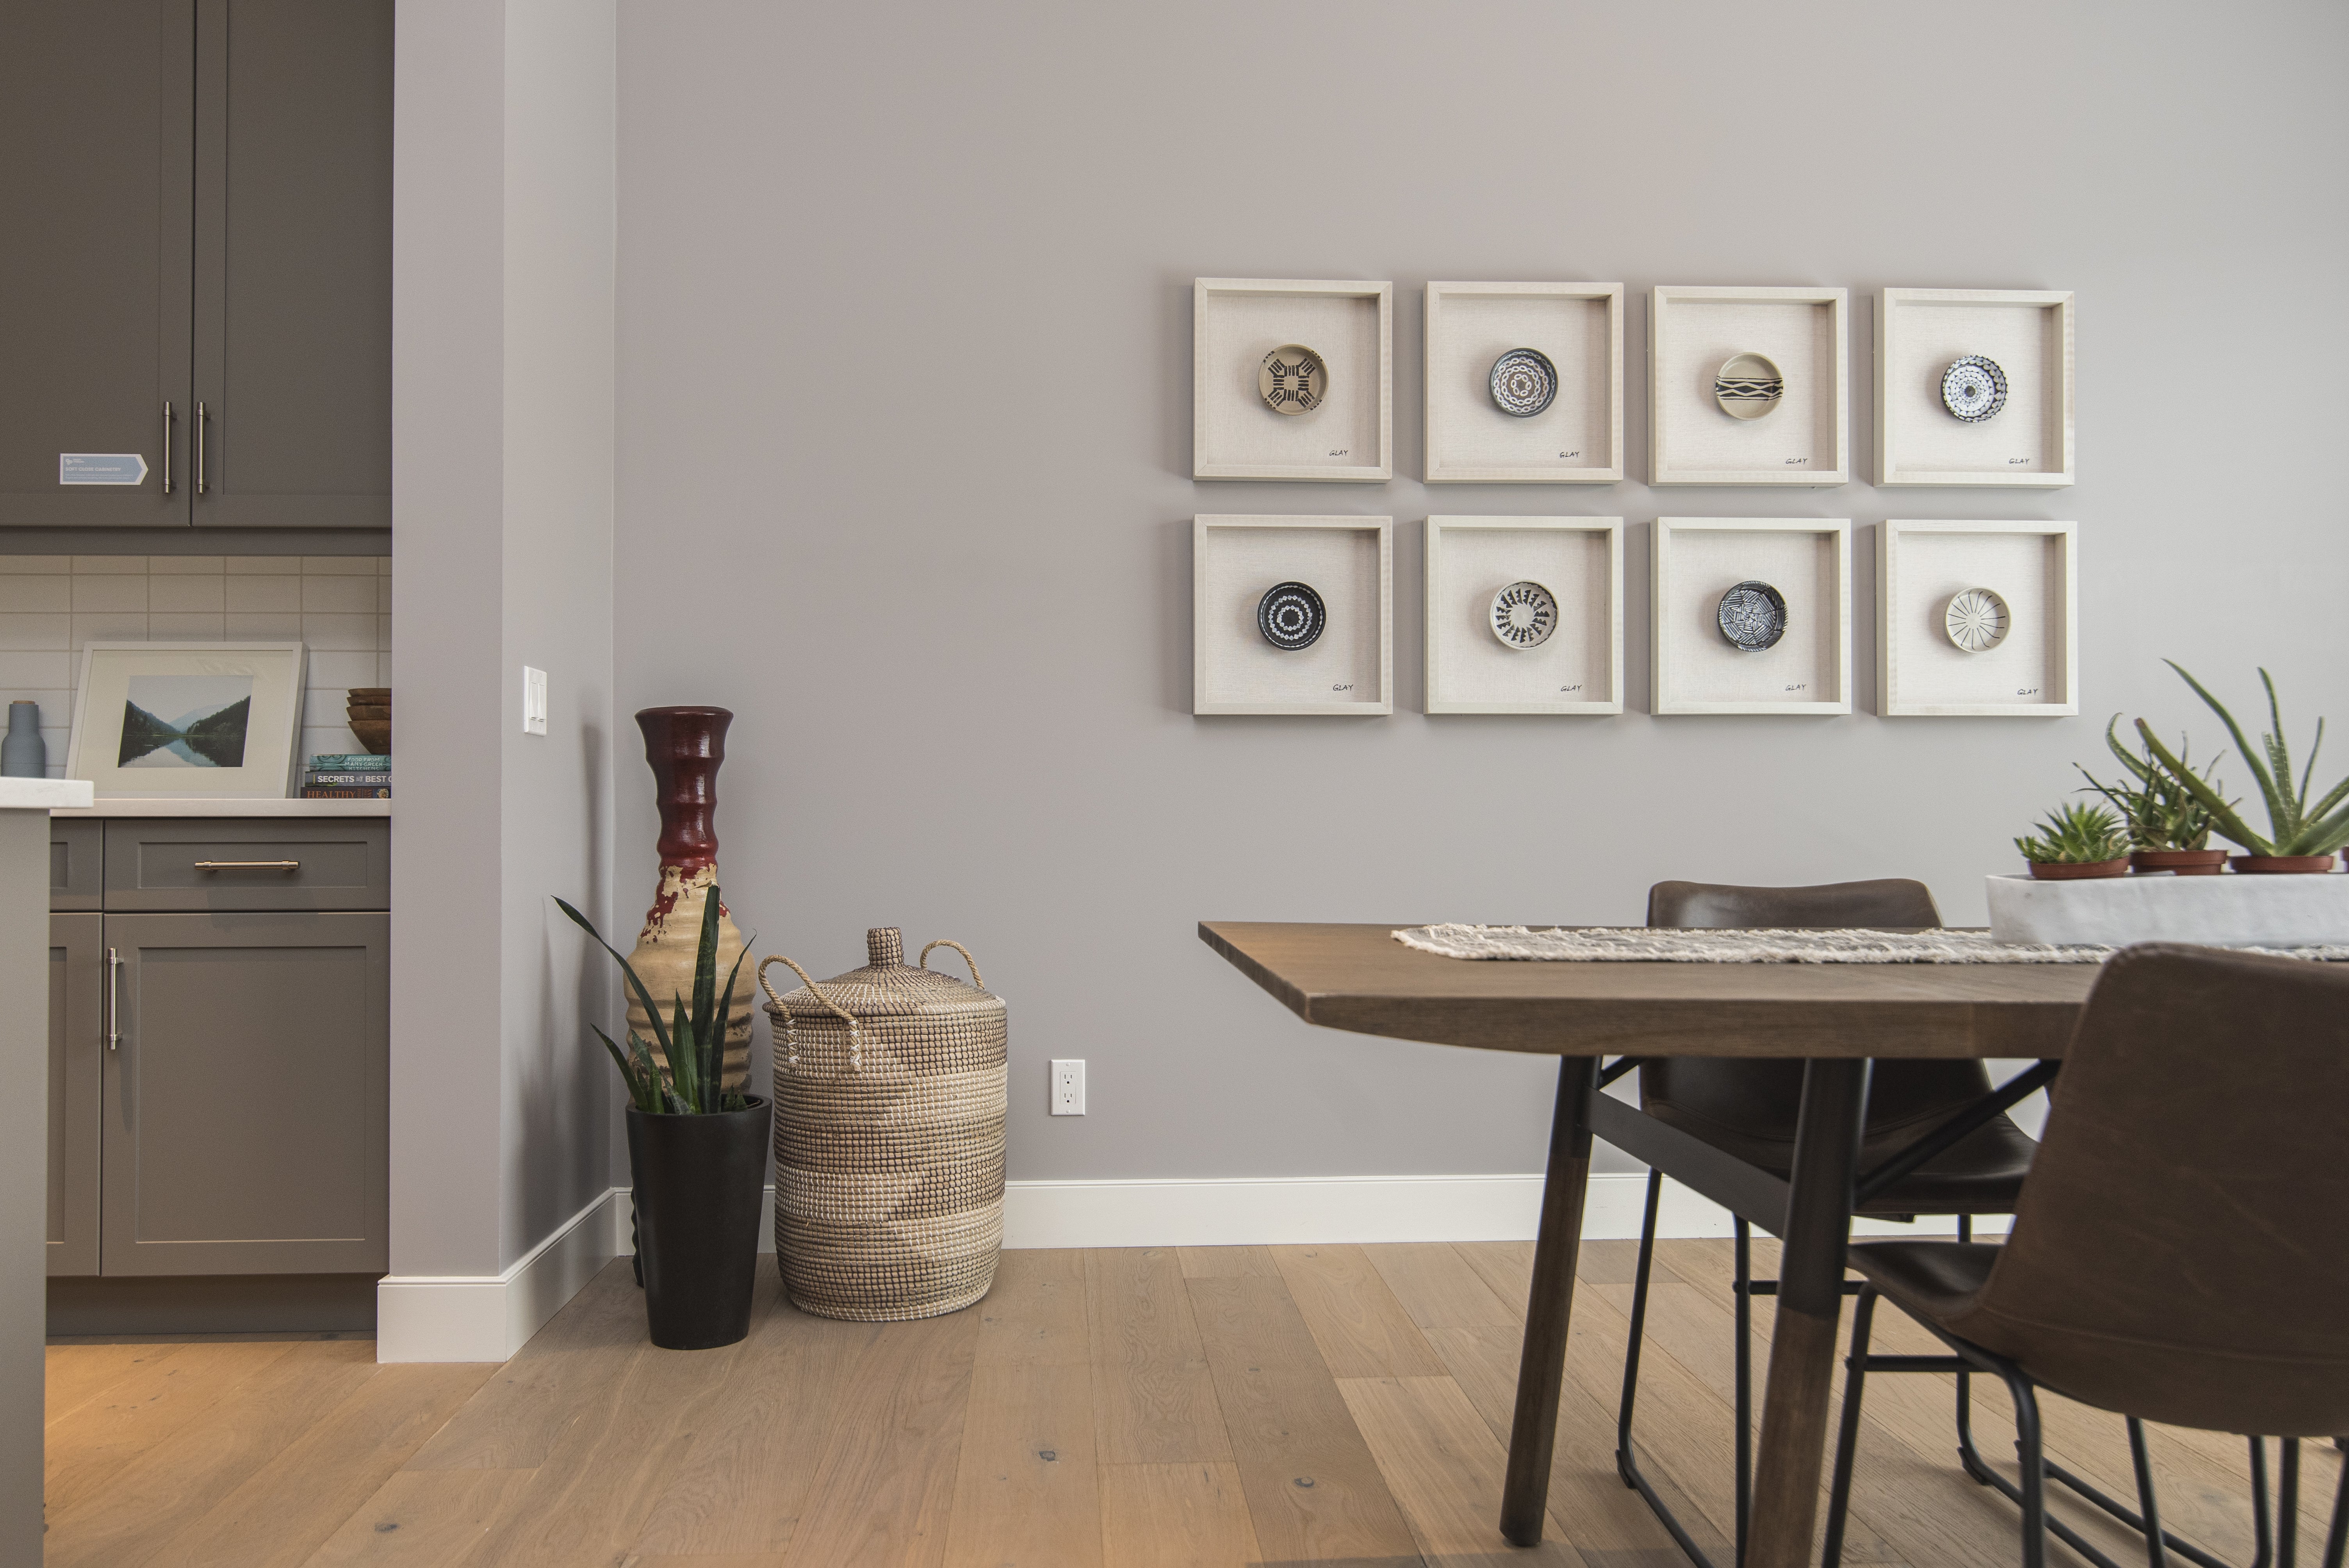
Grouping wooden wall art can make a wall feel warm, curated, and personal. A group can be a pair of matching pieces, or a mix of sizes that share a wood tone and a design language. The difference between a well-styled group and a busy one usually comes down to planning, spacing, and balance, and wood gives you a natural way to tie the arrangement together.
This guide explains how to arrange wooden wall art in a group, from choosing an anchor piece to layering objects beneath the frames, so the arrangement looks planned and can be changed later without starting again.
Decide whether a group suits the room
Not every room suits a gallery arrangement. A living room with a long wall or a dining area with space above the sideboard often works well. A bedroom can take a group, but a single calm piece is usually the simpler choice. A narrow hallway may suit a vertical arrangement of two or three pieces. If the furniture is already layered with cushions, plants, and shelves, one larger piece may be more restful than a group.
Start with an anchor
Every good group has a clear anchor, usually the largest piece, which sets the scale for the rest. Place the anchor first, then build the group around it. Smaller pieces should lead the eye towards the anchor rather than compete with it. A centred anchor suits a symmetrical arrangement above a sofa or sideboard, while an off-centre anchor can feel more relaxed.
Plan the layout on the floor
Lay the pieces out on the floor and move them around until the arrangement feels balanced. Step back and look at it from where you usually sit or stand, since a group that looks good up close can look uneven from the doorway. Once you are happy with the layout, mark the positions on the wall with a pencil or tape, and check that the centre of the whole group sits at a comfortable height.
Keep spacing even
Consistent spacing is one of the most important details. A gap of about 2 to 3 inches between pieces usually makes a group look planned. Uneven gaps can make the arrangement look accidental, even when the pieces are well chosen. For a group above furniture, leave a little more space at the bottom, so it does not feel crowded against the sofa back or console.
Centre the group at a comfortable height
Treat the whole arrangement as one shape. Most interior guides place the centre of a single piece around 57 to 60 inches from the floor, and the same principle applies to a group. Measure the total height of the arrangement, find its centre, and place that centre at the same height you would use for a single piece.
Stick to related wood tones
Wood gives a group a natural unity, but only if the tones are related. Mixing one or two closely related wood tones tends to look more cohesive than many different finishes together. If the pieces differ in tone, let one tone lead and use the others as supporting notes. Matching the tones of the furniture beneath the group also helps the arrangement feel connected to the room.
Mix sizes with care
A group works best when the pieces feel related. A large wooden piece paired with two or three smaller pieces in a similar tone can create rhythm without overwhelming the wall. Keep the sizes in a clear hierarchy, with one dominant piece and a few supporting pieces. Avoid a group where every piece is a different size, shape, and finish, since that can make the wall feel busy.
Mix designs with a common thread
Pieces can differ in design as long as they share something in common. A shared colour, a similar level of detail, or a consistent frame or edge finish can hold a group together. A simple geometric piece can sit beside a more natural pattern if both use the same wood tone and similar spacing.
Layer with objects
A plant, a lamp, or a small sculpture placed in front of the lower edge of the group ties it to the furniture beneath. This helps the arrangement feel grounded, especially above a sideboard or console. Keep the objects low and simple, so they support the wood rather than competing with it. On a sofa wall, a low lamp or a plant on the side table can add height and softness.
Light the group well
Light brings out the grain, and it can change how a group looks. A warm lamp placed to one side of the arrangement can bring out the richness of the wood without causing glare. Avoid placing glossy finishes opposite a window, where reflections can make parts of the group hard to see. If you add picture lights, check that the light falls across the group evenly.
Plan for changes
A good group should be easy to change. If you think you may add pieces later, leave space at the edges of the arrangement, and note the spacing you used so you can keep it consistent. Hanging with a level and a paper template makes it easier to adjust without damaging the wall.
A simple grouping checklist
- Decide whether a group suits the room and the wall.
- Choose a clear anchor piece, usually the largest.
- Lay the pieces out on the floor, and step back to check the balance.
- Keep spacing even, usually about 2 to 3 inches between pieces.
- Centre the whole group at about 57 to 60 inches from the floor.
- Stick to one or two related wood tones, and mix sizes in a clear hierarchy.
- Layer with a plant or lamp to ground the group.
- Check the lighting, and avoid glare from glossy finishes.
A thoughtful group of wooden pieces can make a wall feel warm and personal. Browse our wooden wall arts collection and our paintings collection to find pieces that work together.